One of the most important features of the android phones today is photography. The awesome cameras, that these phones have let you take fantastic picture. Now the problem that arises is of accommodating these pictures on your phone. In such a scenario one thing that has come to your rescue is Google Photos. Here are the steps to set up google photos on android.
Steps to set up Google Photos
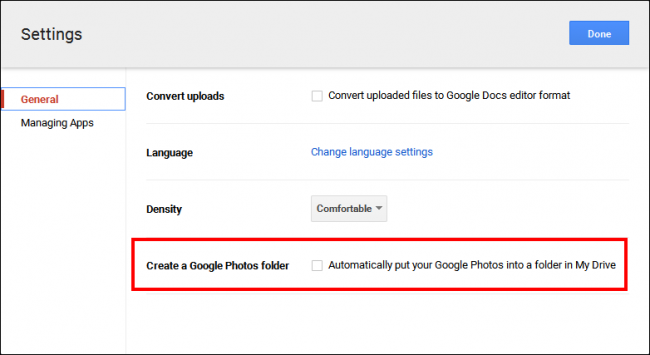
In case you are opening the Google Photos on your android phone for the very first time then you will have to go through the initial steps. There is an initial setup process that you will have to follow. First and foremost thing that you need to do is Open Google Photos. Next you need to Sign in to your Google account and then select the quality settings that you desire. Now you need to wait till your photos sync.
Steps to choose device folders
Once you are finally logged into Google Photos, you need to select those folders that you actually want to back up via this service. To do so, you first need to open Google Photos and then tap on the overflow icon. The icon we are talking about is the one that is there with three lines right at the upper-left corner of your screen. Next you need to click on gear icon in order to access the Settings. Now click on Back up and sync. After this click on Back up device folders and then toggle the folders that you want to back up and it is done.
Steps to change image quality
One of the most important things is changing the quality of the image backups that you want for your Google Photos. Google Photos give you an opportunity to save infinite pictures if you go in for saving them in “high quality” mode which is comparatively a lower resolution in comparison to the one in which these were captured originally. However, these still look awesome. As an alternative you can also go in for choosing to save the images in the original full resolution. If you do this, then it will count the backups towards the availability of the Google Drive storage. Again you need to open the Google Photos and then tap on the overflow icon. Now click on the gear icon so as to access your Settings. After this tap Back up and then sync. Press the Upload size icon and then on the image quality that you want.
All in all, these are the steps to set up google photos on android. This is all that you had to do. Now you are ready to begin using your Google Photos. This is a great relief to those who always lack the storage space in their phones to keep and collect their photos. By doing this you will no longer have to delete your picture to take and accommodate new ones.


