Google Assistant might have gone in for officially debuting with Allo, however it was only after the release of the Pixel that we could actually explore all what it has in store to offer owing to the personal AI assistant. Today, Google Assistant has finally rolled out to all of the Android phones that are running on either Marshmallow or later. There are literally a plenty of ways to make use of the Assistant the entire day. So that you can use the service to the maximum it is important for you to know everything about the same, be it the features or the settings. In this article we are going to discuss the steps to set up and customize google assistant.
1. Steps to set up Google Assistant
There are just few steps that you need to follow so as to set the Google Assistant on any of the android phone only if the phone runs on Marshmallow or above. You can have an access to the same by simply long pressing the Home button or by simply saying “OK Google” in case you have enabled the voice activation. In case you are logged into the Google Account, but you have to set up the Google Assistant yet then you can begin the process by simply launching it from your home screen when you do it for the first time. After you have launched the Google Assistant by long pressing the Home Button, you need to tap on Next when you get on your “Meet your personal Google Assistant” screen. Next you need to click on continue, the option that appears on the next screen to give permissions. This is all you need to do. You can also be asked to configure the voice activation that involves you having to repeat “OK Google” three times. Simple, isn’t it?
2. Steps to change your account with Google Assistant
In case you have more than one Google account actively working on your phone then it becomes vital ensure that Google Assistant is connected to the one you want. Google Assistant is then able to fetch the details from not only Gmail but also Google Photos and all the other Google services. This is the reason to ensure that you care connected to the primary account. In case anything wayward has happened it is agin easy to switch back. Firstly, you need to launch the Google Assistant by long pressing the Home Button followed by pressing on the compass icon that is there on the top-right corner of the Google Assistant window. This will open the Explore window. Now you need to tap the menu icon that you can find in the top-right corner of the Google Assistant window. Here you need to tap on Accounts. Now click on the account that you want to use. This is it. In case you need to switch the account, you simply require to go through the quick setup process and allow access to the permissions.
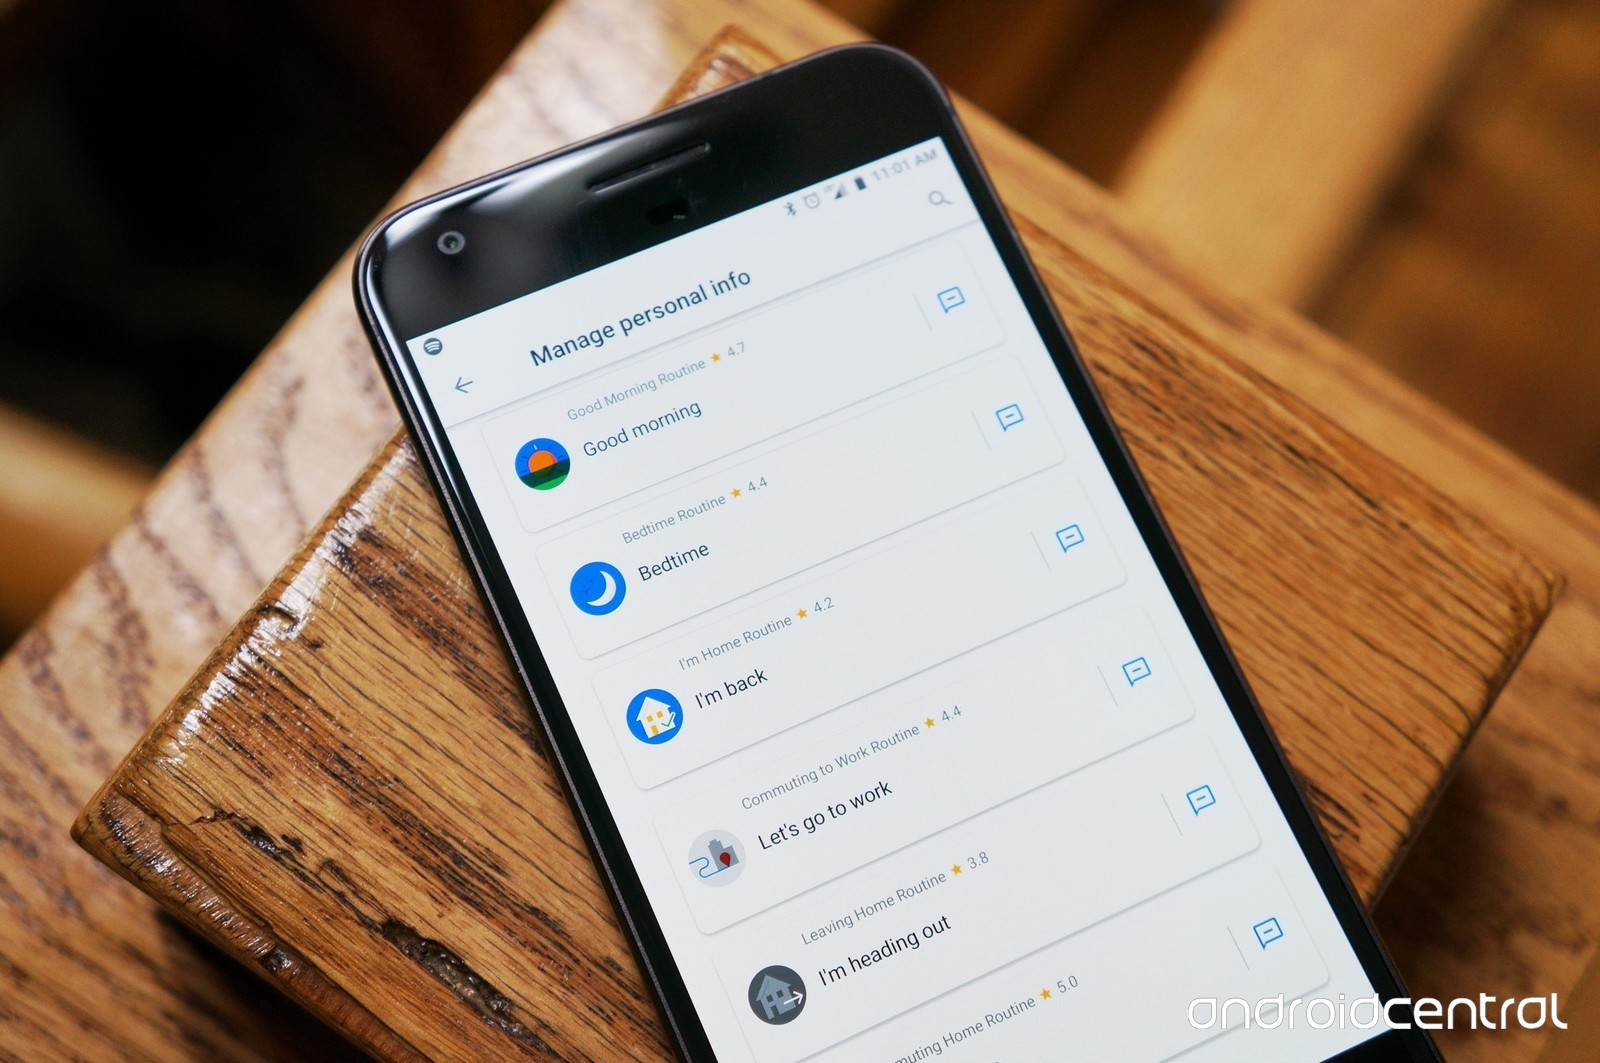
3. Steps to customize “Good morning” bulletin
Firstly you need to Launch the Google Assistant by simply long pressing the Home Button. Next you need to press the compass icon that is there in the top-right corner of your Google Assistant window. After this, tap on the menu icon that is in the top-right corner of your Google Assistant window. Click on Settings and then on Routines followed by Good morning. Also, tap on the check boxes so as to toggle all that is included in the morning summary. After you have done it all, you simply need to say “Good morning” to your Google Assistant.
4. Steps to customize Google Assistant’s news sources
First and foremost you need to launch the Google Assistant by simply long pressing the Home Button and then on compass icon. You will find this icon in the top-right corner of your Google Assistant window. Now click on the menu icon that is again present in the top-right corner of your Google Assistant window. Now you need to tap on Settings followed by tapping on News. After this, you can tap on the Add news sources and simply swipe up to go through the entire list of the news sources. You simply need to Check the box that is next to the news sources that you desire. Now you ought to tap the back arrow and simply Change Order. Next you need to tap and drag the news sources only in the order that you want them to play.
5. Steps to customize Google Assistant nickname
So that the Google Assistant calls you by the name that you want it to, you ought to long press the home button to launch Google Assistant. Next you need to press the
compass icon that is there on the top-right corner of your Google Assistant window. After this, you need to click on the menu icon that is there in the top-right corner of your Google Assistant window. Now, press on Settings followed by Personal info and then Nickname. Here tap on the edit icon that is there next to your name. Here you can type whatever name you want it to call you. Next, tap OK and it is done
6. Steps to unblock offensive words
It is by default that Google Assistant censors all the offensive words. In case you are okay with these words then you need to long press the Home Button and launch the Google Assistant. Next you need to press the compass icon that is there in the top-right corner of your Google Assistant window. After this press on the menu icon that is there in the top-right corner of your Google Assistant window. Now click on Settings followed by Phone in the Devices option. Now swipe up so as to scroll through the options. After this, press on the other voice settings. You now need to press the toggle switch that is there next to the “Block offensive words”.
7. Steps to view your activity history
After launching the Google Assistant by simply long pressing the Home Button, you need to press on the compass icon that is there in the top-right corner of your Google Assistant window. Now tap on the menu icon that is there in the top-right corner of the Google Assistant window. Last you need to tap on My Activity and here you go.
All in all, these are the steps to set up and customize google assistant that are easy to follow.